Vellum is so fun to work with and adds a layer of possibility to your paper crafting. S
Stampin’ UP!’s new printed 12 x 12 inch Layer Designs Vellum is preprinted with both white & black designs and adds just a touch of depth to the vellum.
Check out the video for how I altered and used the vellum on the projects you see below.
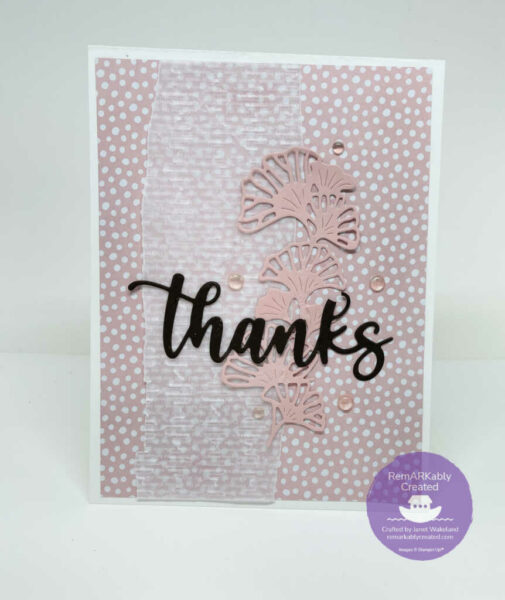
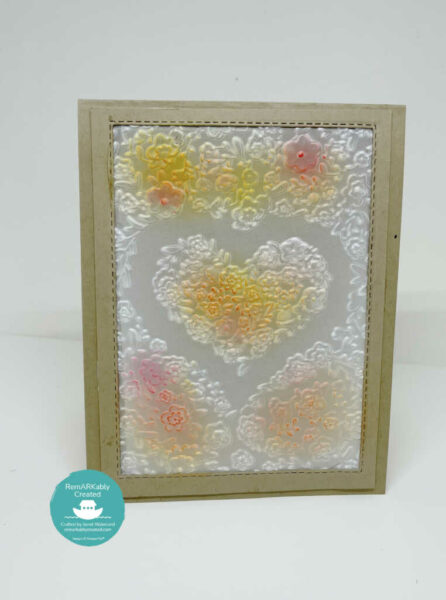
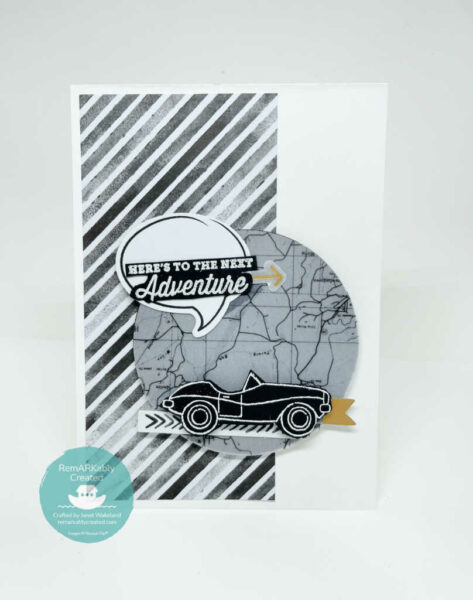
Samples Featured in Video
1. Stamp On Vellum – allow ink to air dry (or use heat tool to set on low setting), or use clear embossing to set ink.
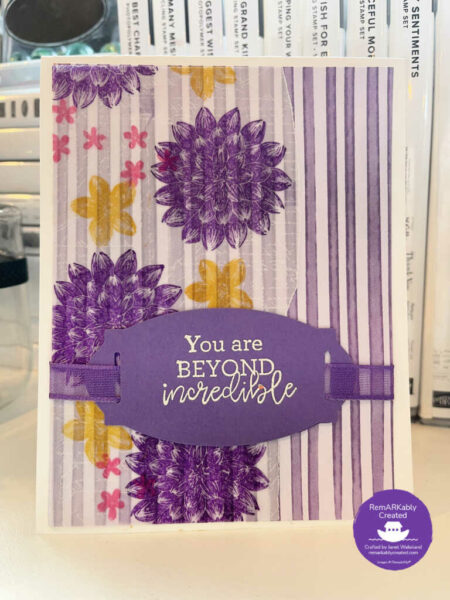
2. Smudge Vellum with Stampin’ Blending Brushes, tear edges and even burn the edges for a vintage distressed look.
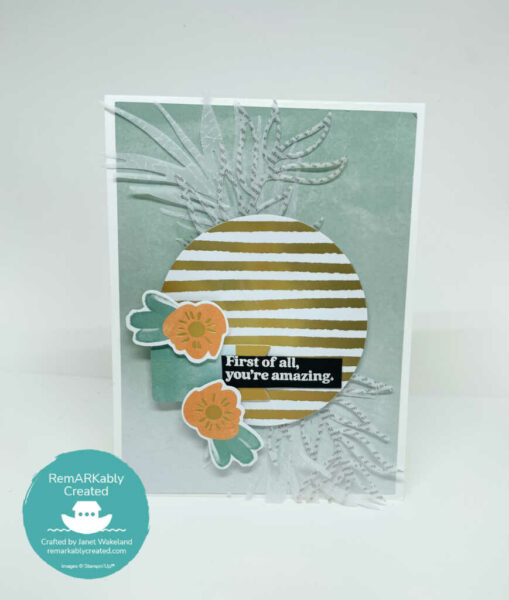
3. Die Cut the Vellum – here the plant fronds are die cut for a subtle layer behind the main focal point
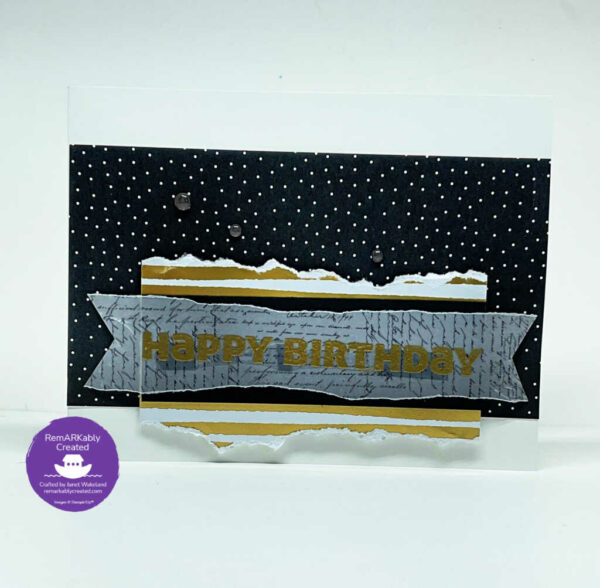
4. Heat Embossing on the Vellum
5. Add texture and break up the fibers a bit with an embossing folder – a nice subtle layer to add visual interest to your card
6. After embossing with embossing folder use your blending brushes or daubers to add a little color back in.
Let the light shine through but framing the vellum with nesting dies such as the Stampin’UP! Stitched Rectangle dies.
7. Layer the Vellum onto cardstock to make the imprint pop
Layering Vellum 12 x12
Shop My Stampin’ UP! paper crafting Boutique and the Beautiful Layering Vellum HERE
Request a Current Catalog – janet@remarkablycreated.com
FOLLOW me On Facebook

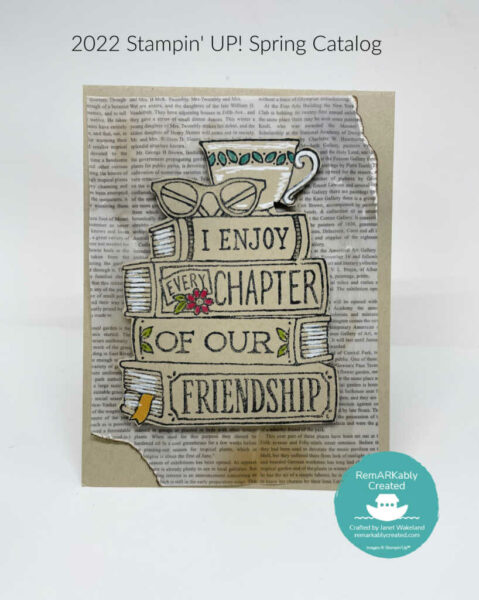
the stamp that has the books (I enjoy our friendship) I can’t locate the stamp set. Can you point me in the right direction. Thanks
Hi Nancy
It’s in the new 2022 Spring Catalog – https://www.stampinup.com/search/chapter?sort=relevance&ts=1641742143125
Thanks for the inspiration, I was trying to figure out what to do with that stamp!
you are welcome