Looking for an inexpensive favor?
Want something that is personalized?
Love the look of brown paper bags?
Want your gift to stand out?
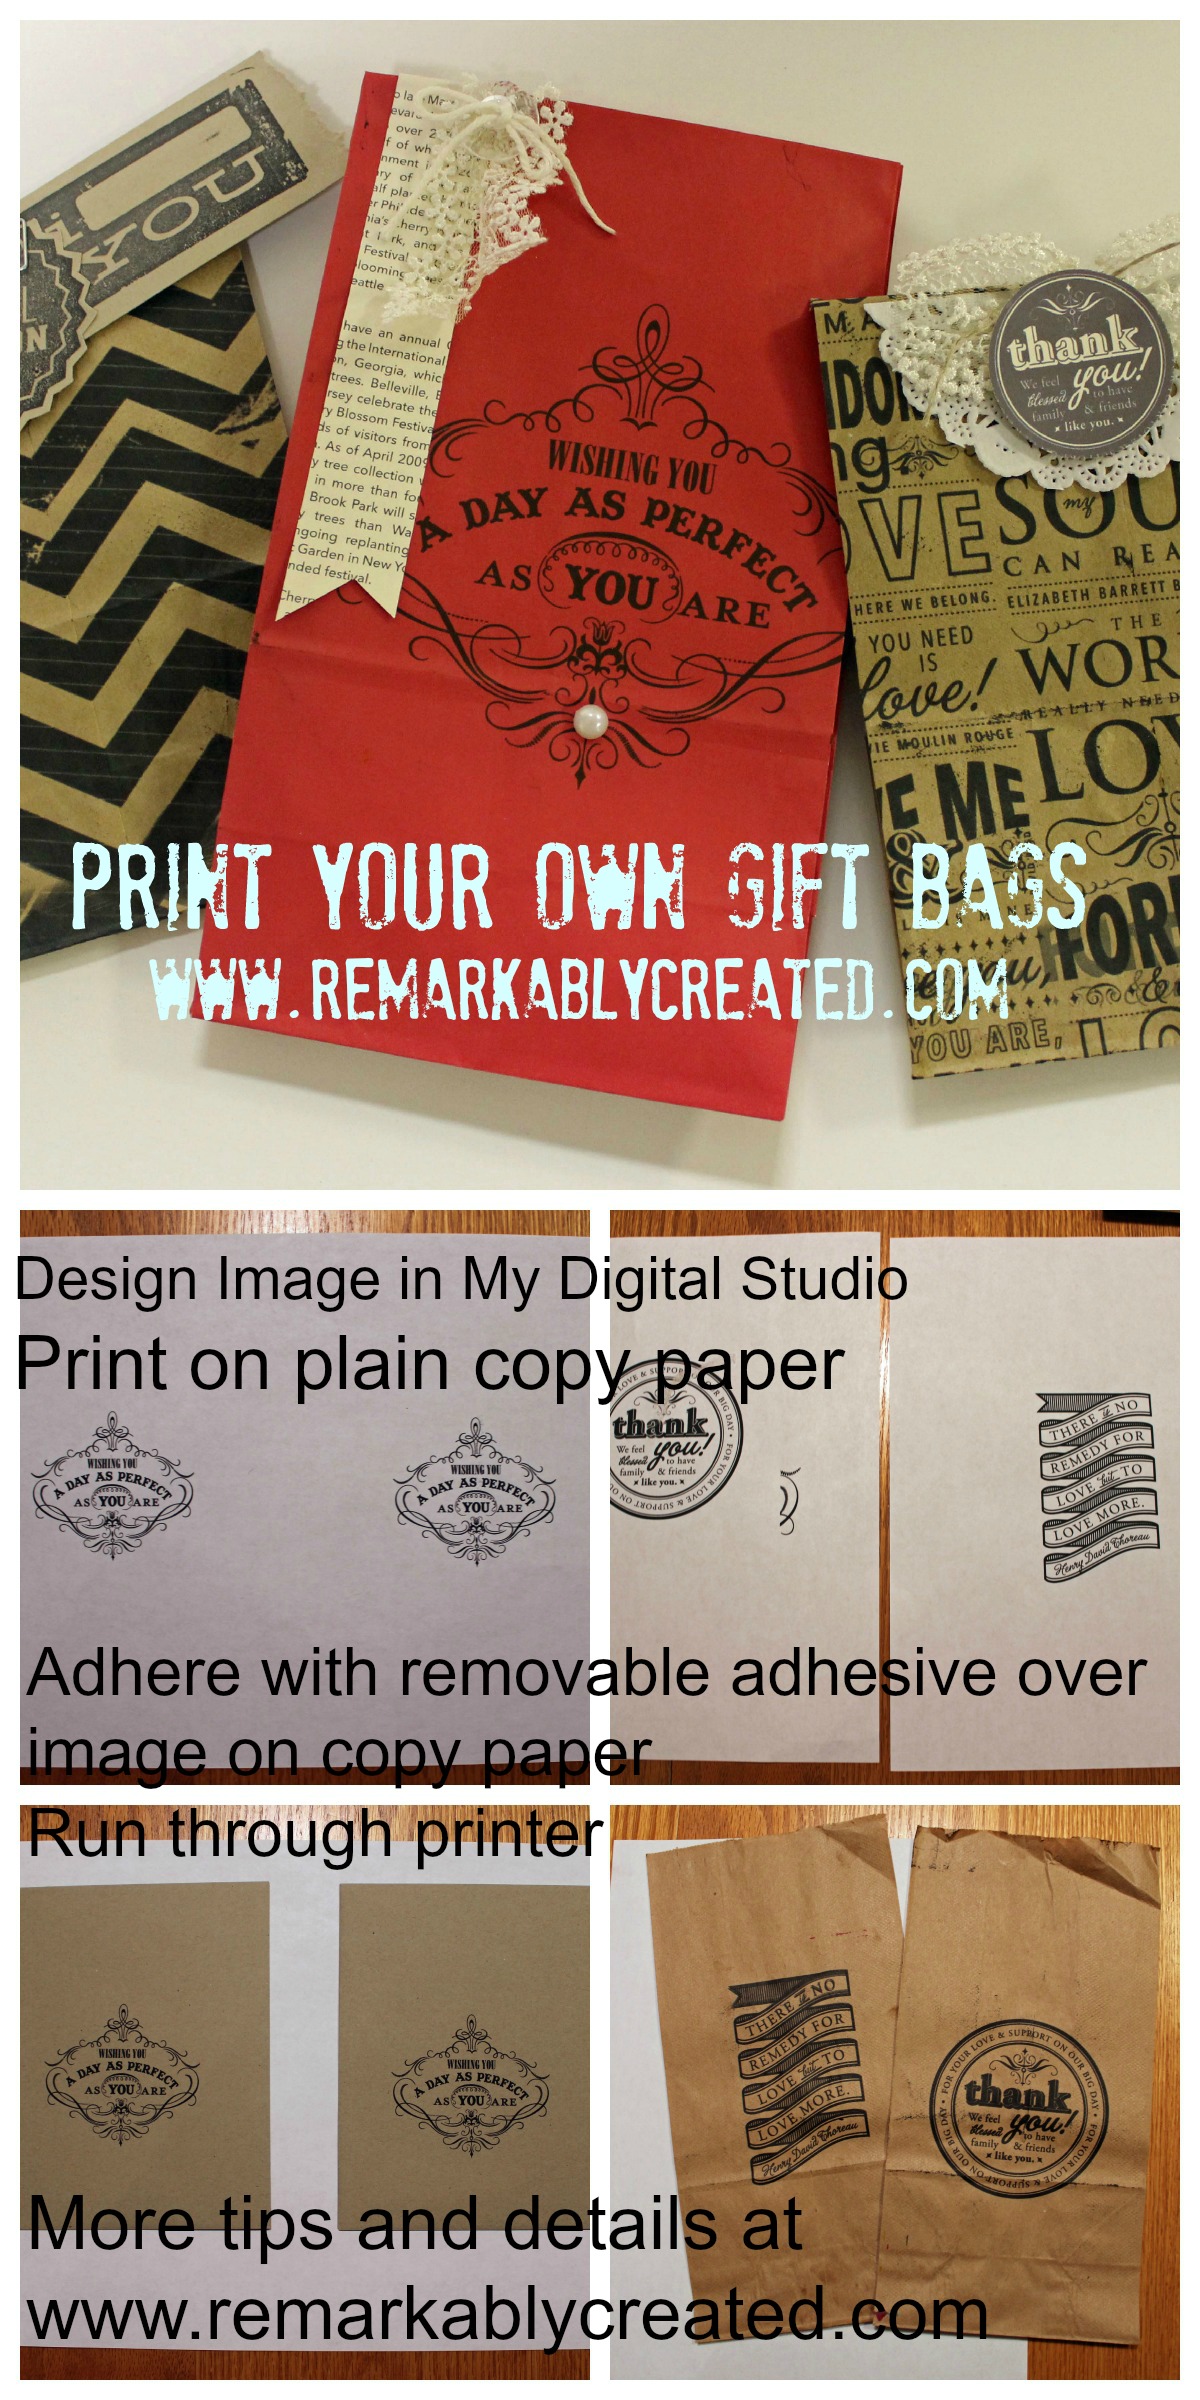
Why not print your own bags at home?
TIPS
1. I used My Digital Studio to create my images
2. You can print an all over design like the chevrons seen or just a simple design in the middle of the bag
3. Make sure image is positioned so you can print the bags with opening facing left or right or down – if you run bag through printer with opening of bag going in first there is a great likelihood bag may cause a jam
4. Set printer to print heavy paper/cardstock
5. Use the thinnest bag you can find – I love lunch sacks and the color bags you can find 3 for $1 at Wal-Mart
6. Ink color when printing on kraft lunch sacks will be muted – buy a few extra bags to play with your color if you are looking for a “match” for wedding colors, school colors, etc.
7. Use removable adhesive to hold bag over image printed on copy paper
8. Buy a few bags more than you need so you have a few to run tests with
9. Have fun embellishing them.
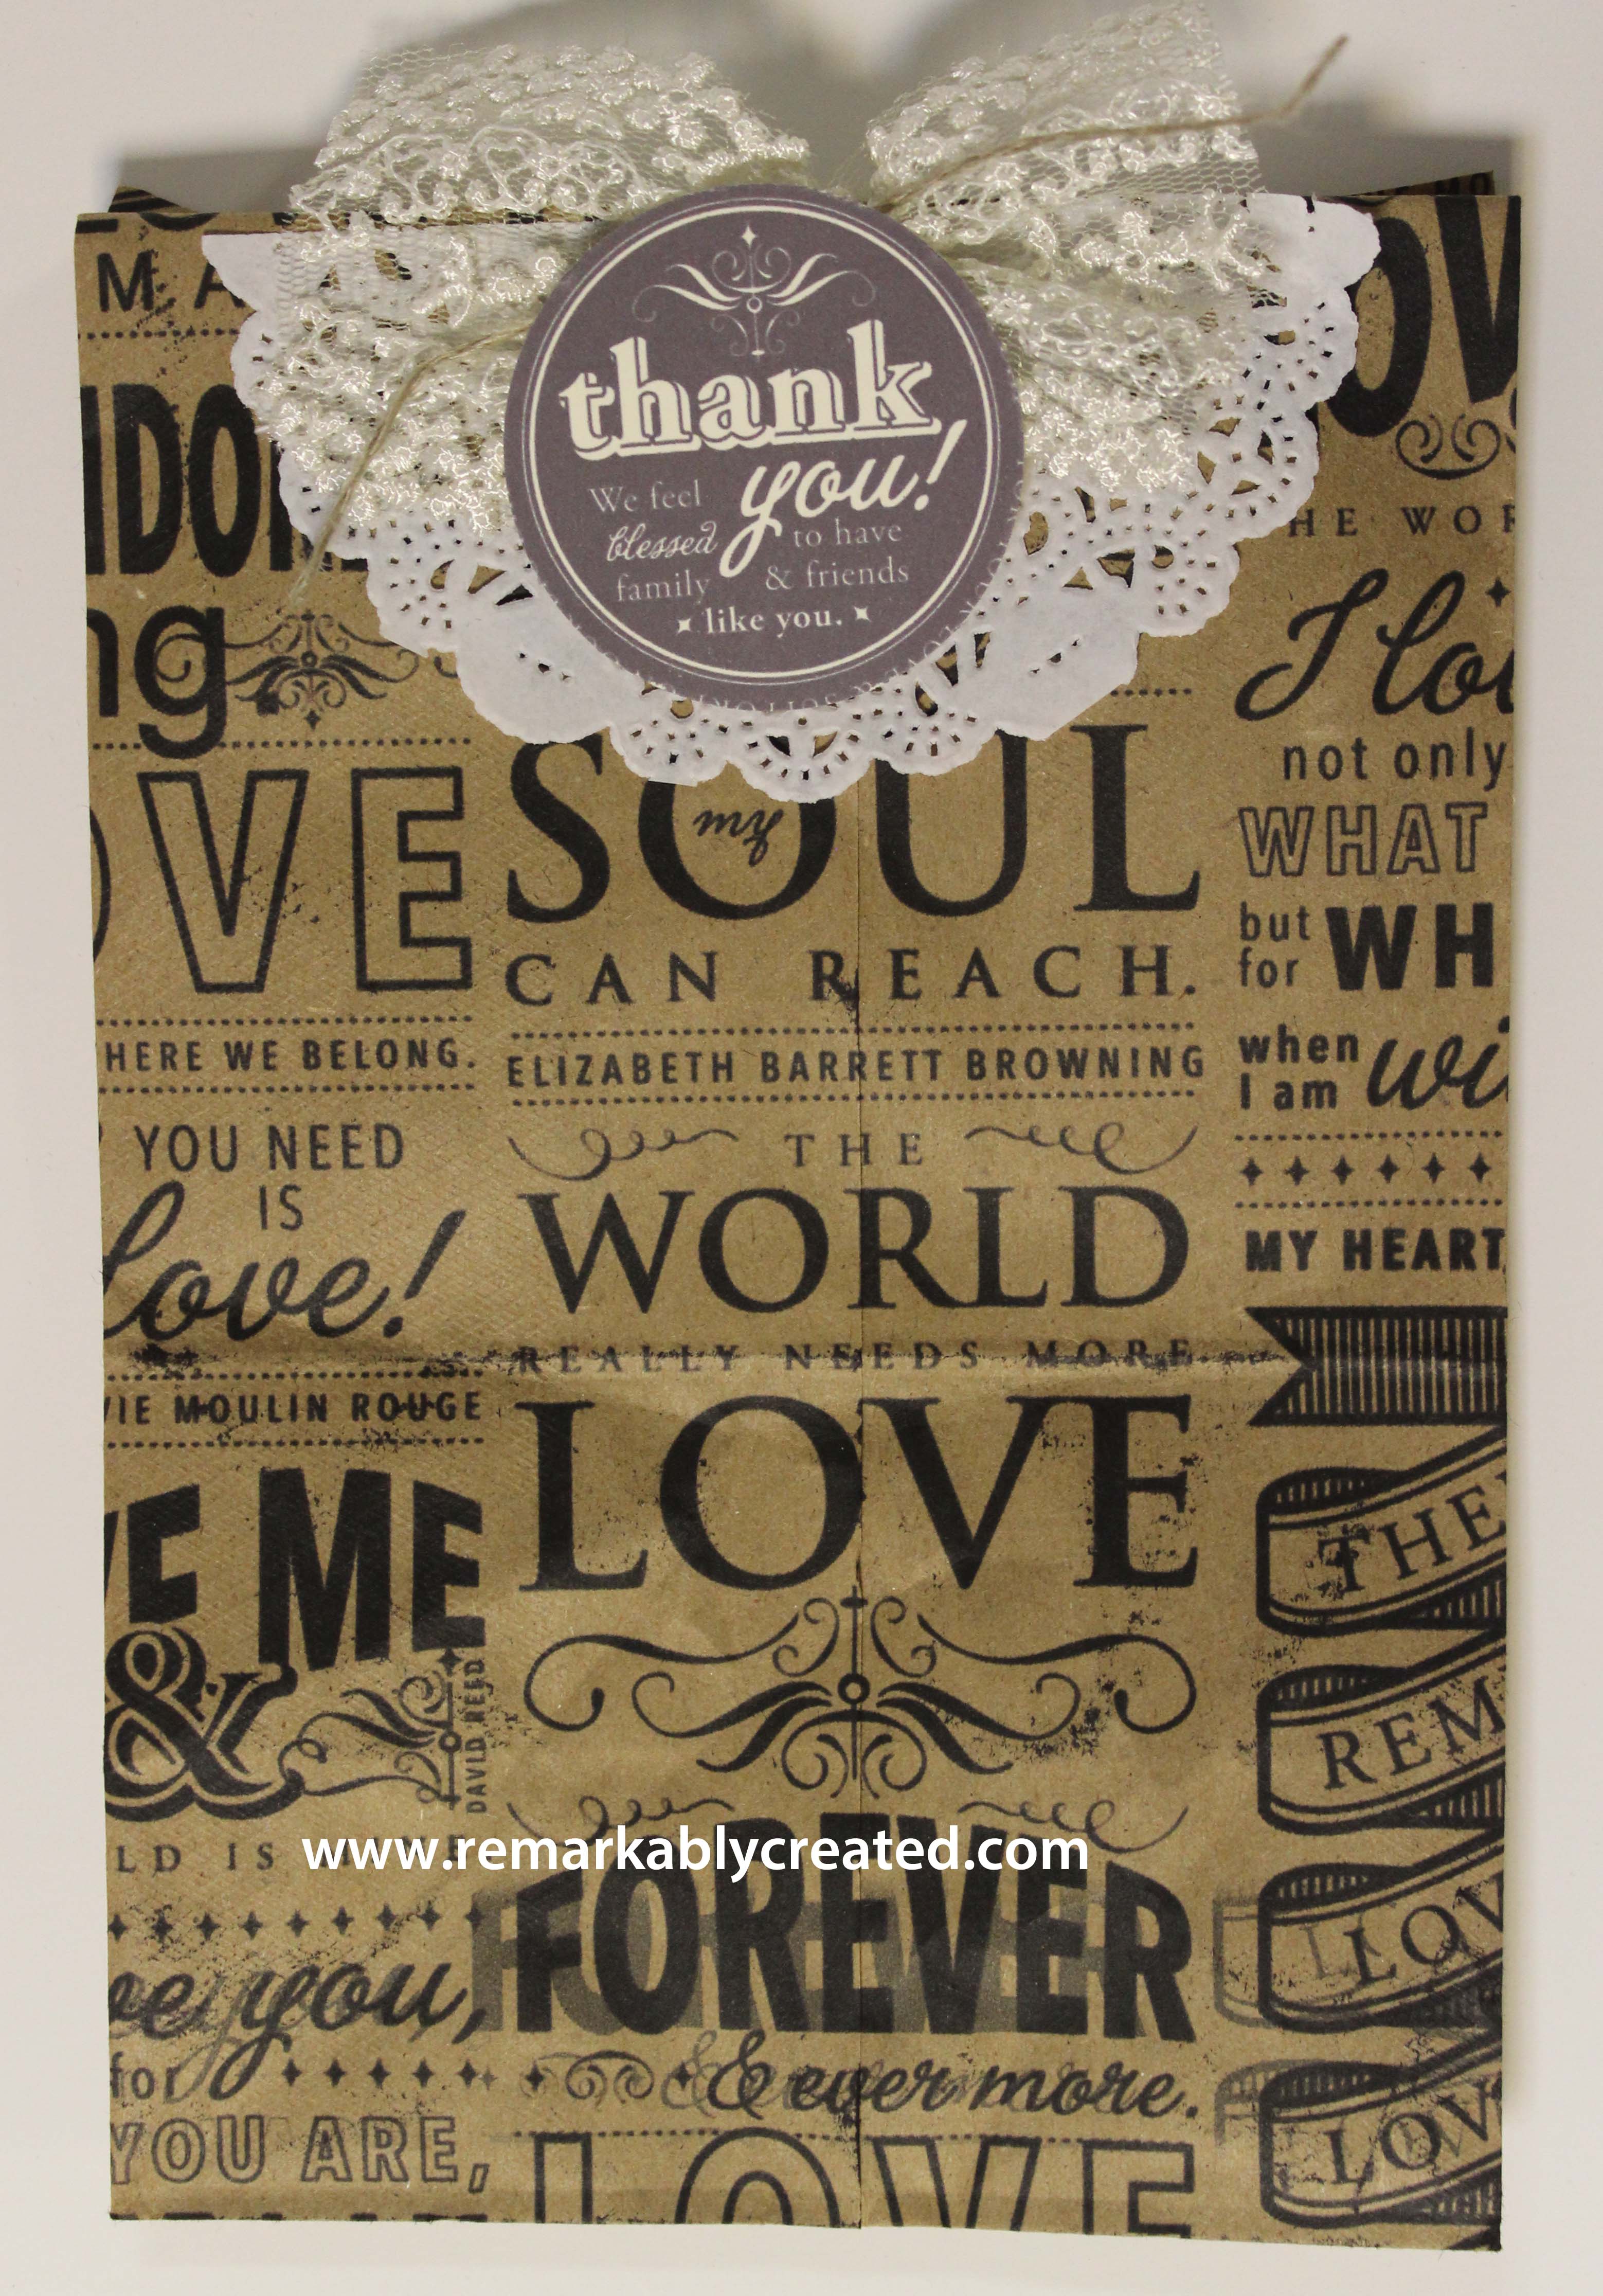
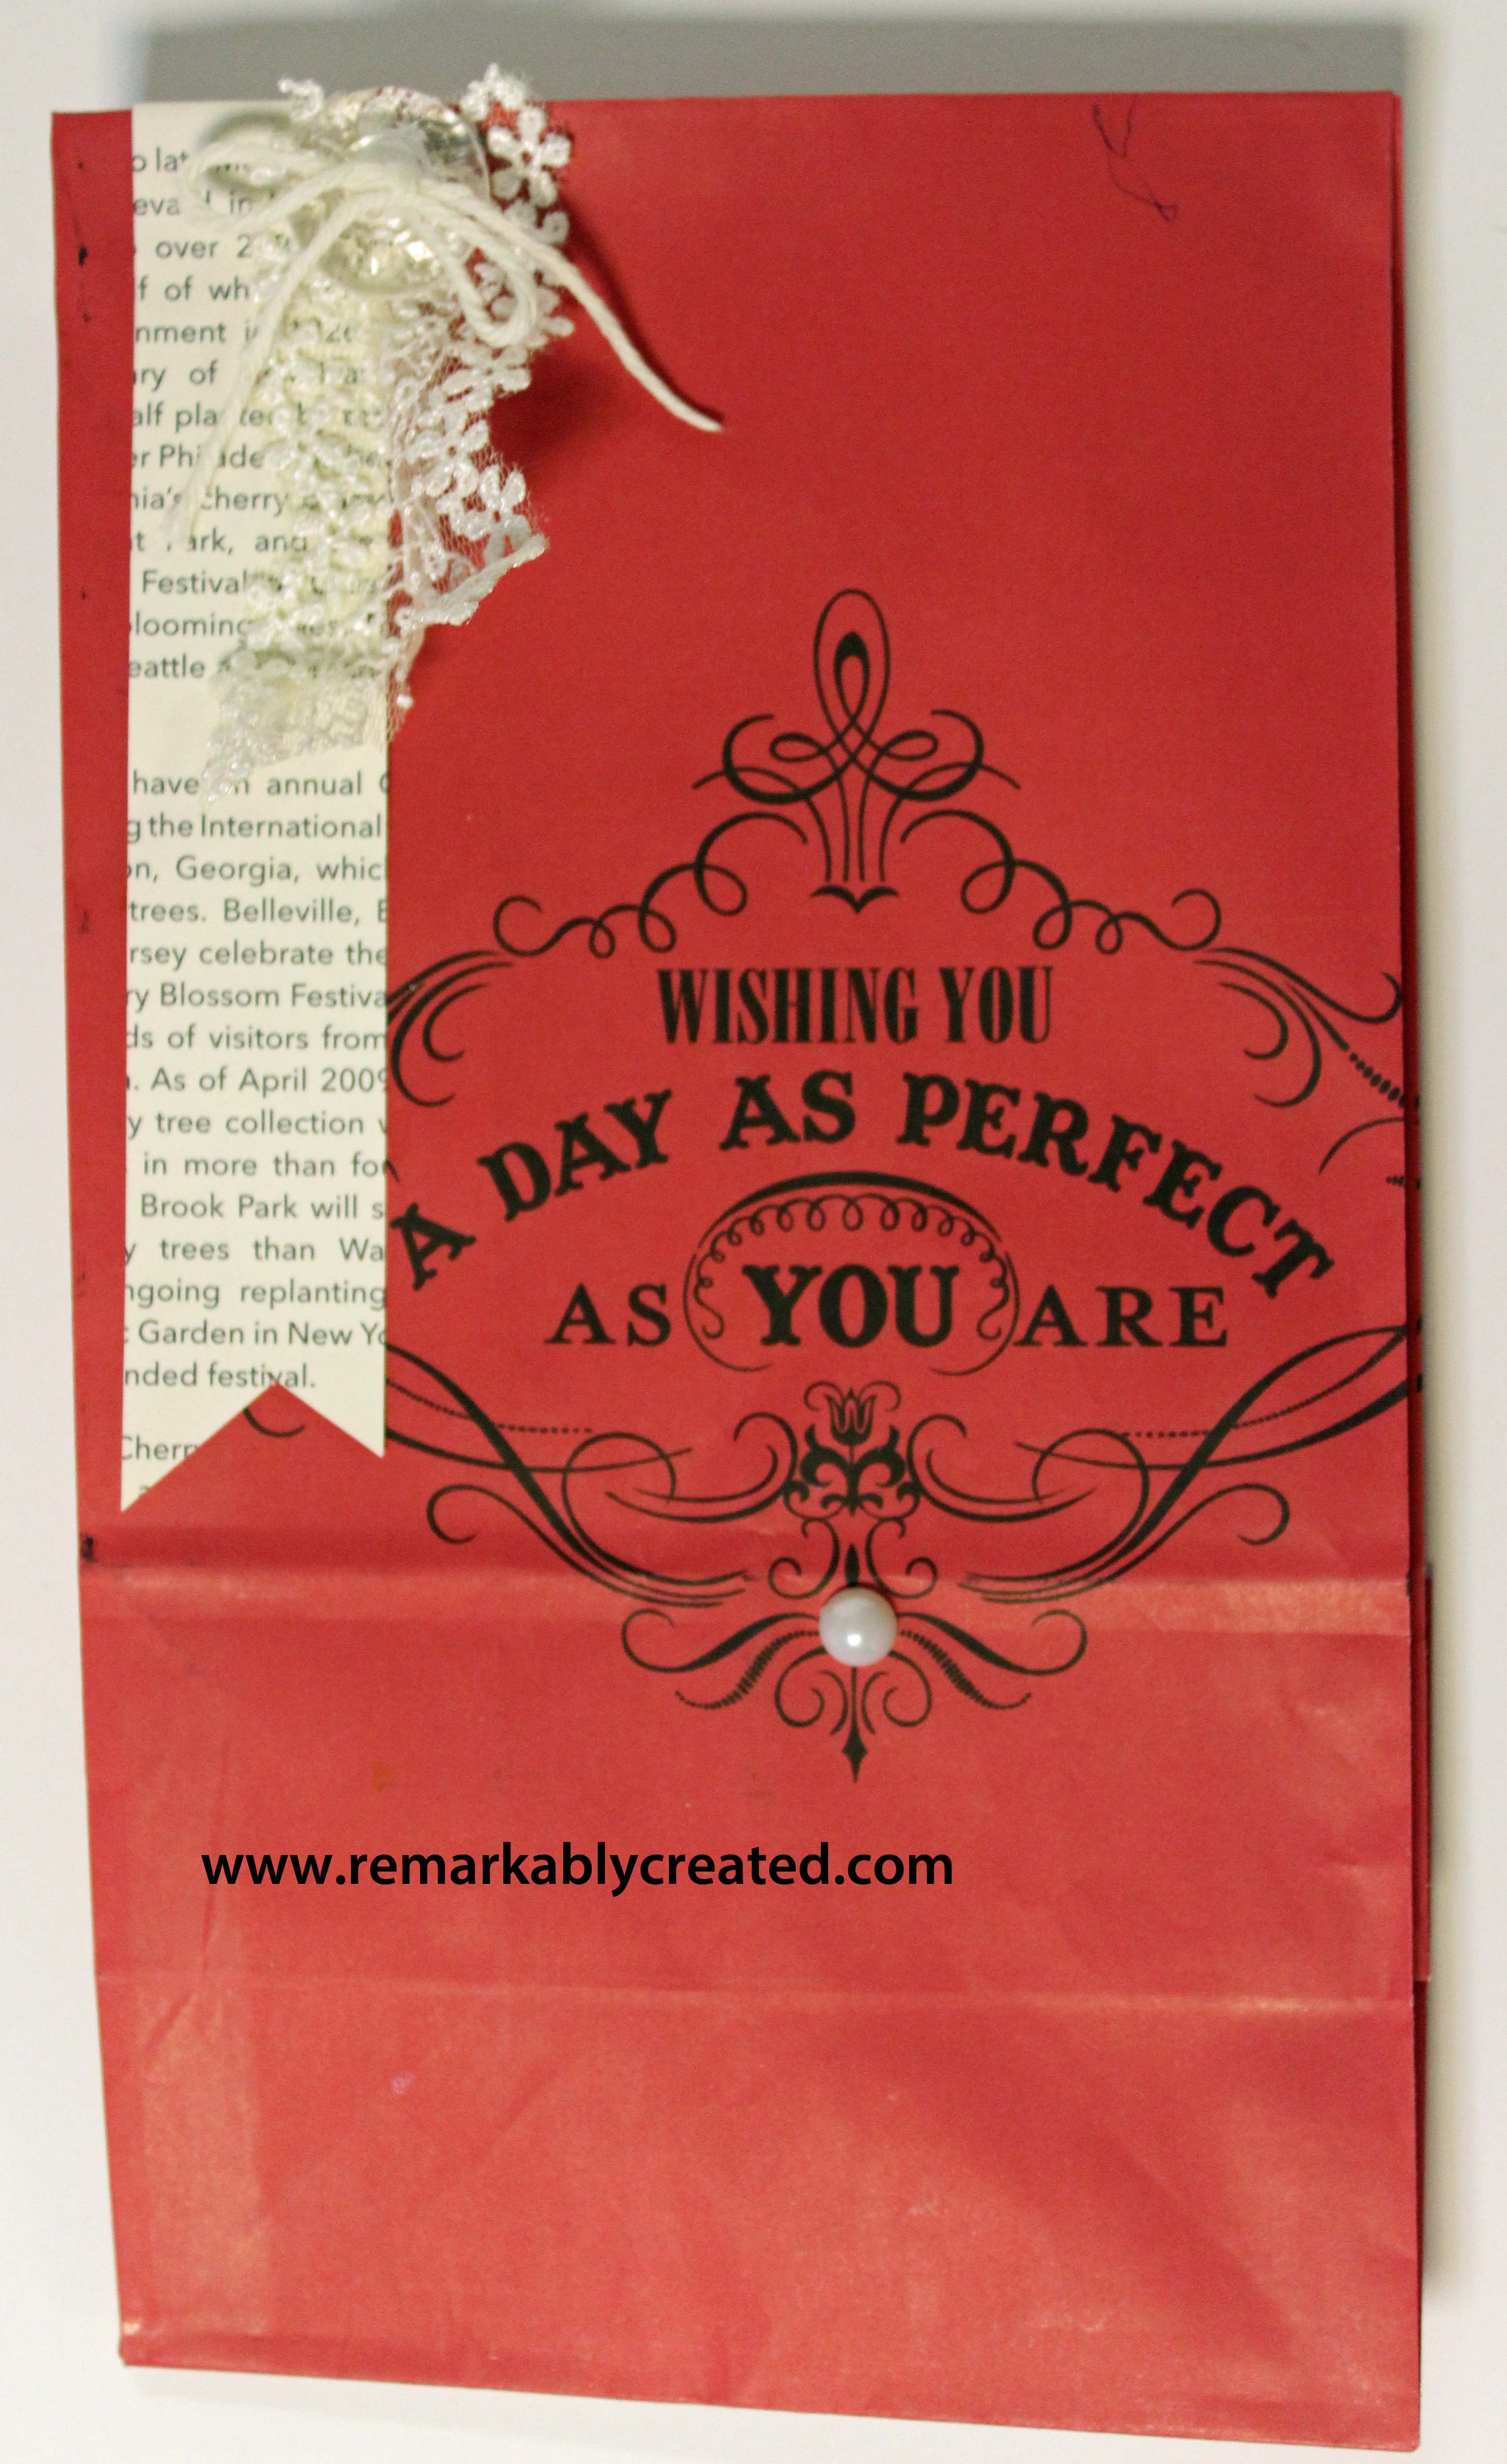
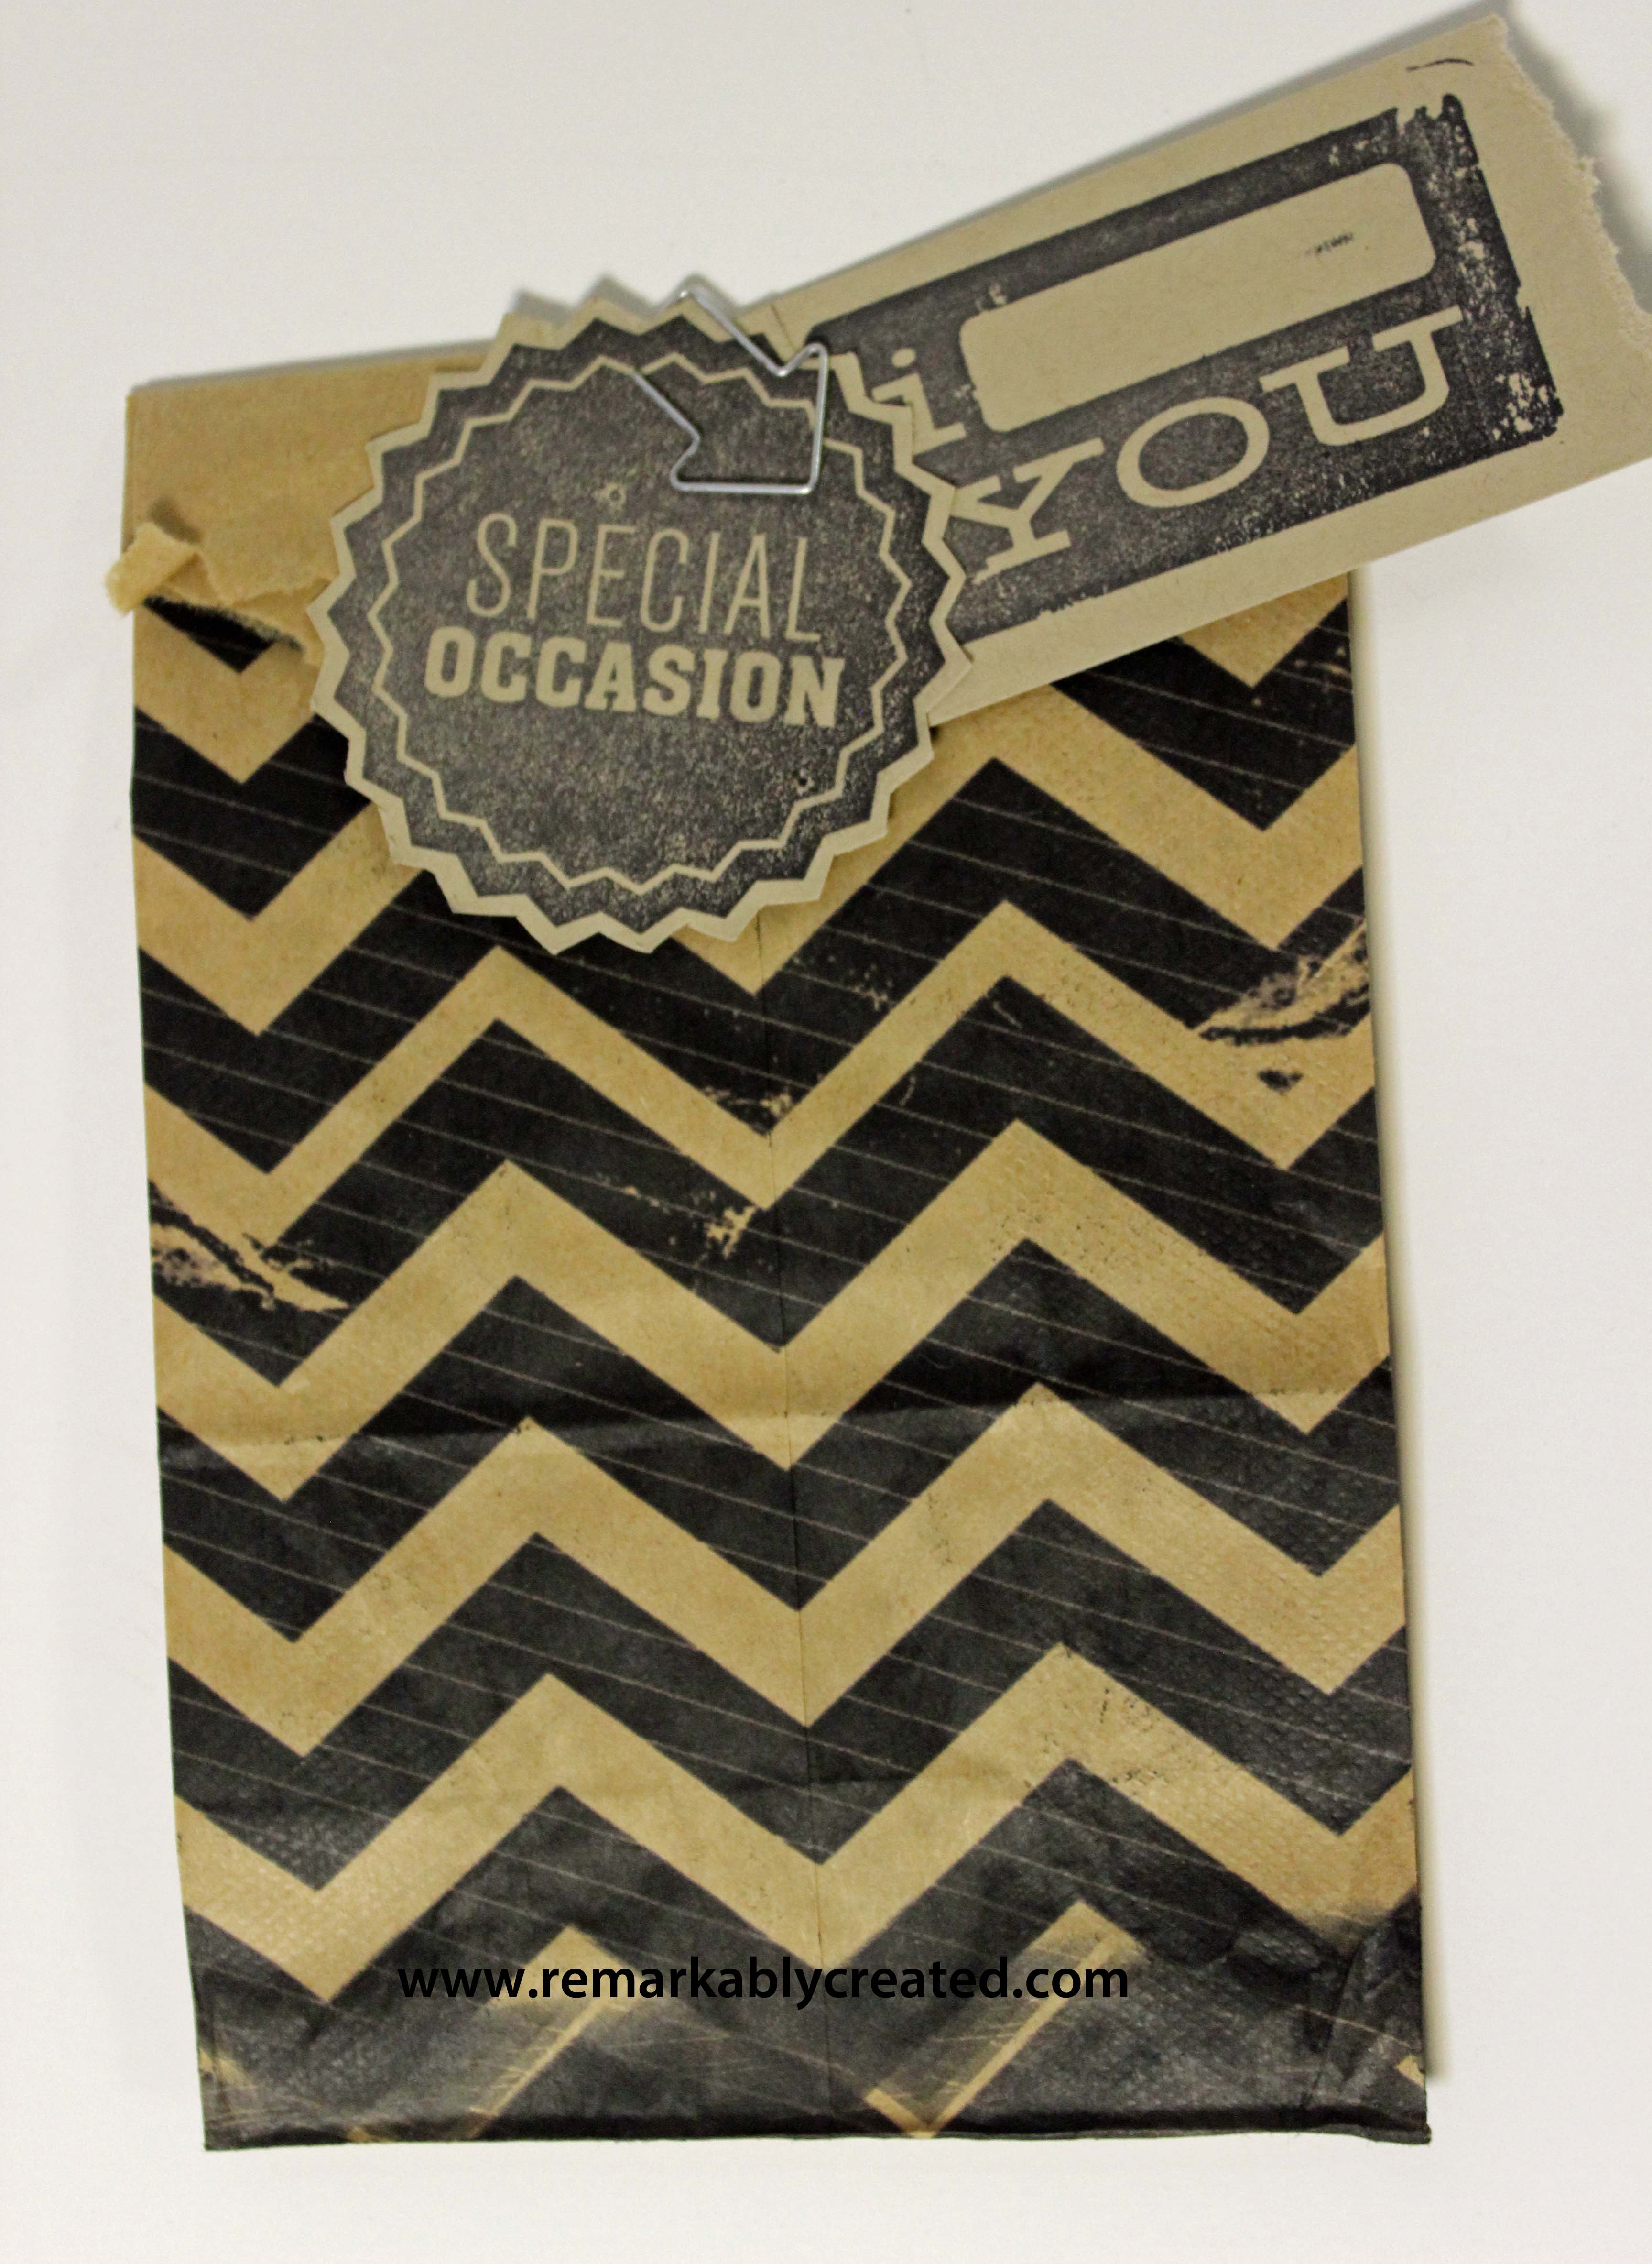
Close Ups of Individual Bags
Supplies – Love More My Digital Studio Designer Kit, Lace Doily, Artisan Embellishment Kit, Linen Thread
SUPPLIES – One Big Sale-a-bration My Digital Studio Content Disc, First Edition Designer Paper, Vintage Faceted Button, Artisan Embellishment Kit
SUPPLIES USED – Chevron My Digital Studio download, Dude, You’re Welcome Kit , cute clips

What a GREAT idea Jan! Never thought of printing on bags. Thanks so much for sharing.
Thank you for the tips and idea of printing on paper bags! Such a great idea for a personalized gift!
What type of printer do you have would love to try this for my daughters 16th party–
Hi Kari
I have an epson