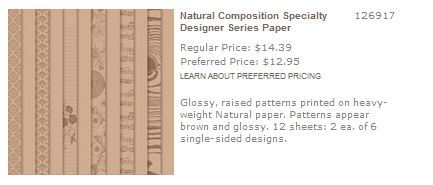
I love our new 12×12 naturals paper the patterns are beautiful by themselves BUT then the alteration possibilities add so much value to them. This past Saturday one of the creative teachings was on natural composition and all attendees were given 3×3 squares and supplies to follow along. It was amazing how with the same supplies (bleach, daubers, markers, ink) there was still so much variety.
WHAT TO DO
1. Distress with sanding block
2. Distress by simply moistening and crumpling
3. Distress by tearing and sponging
4. Sponging color over specific areas and rubbing off ink on raised areas with tissue or towel- the raised impressions help “resist” the ink. I prefer dauber for a more intense and colored coloring.
5. Bleach
6. Watercolor over Bleached areas
7. color with markers
8. color with water color
9. Simply spritz with Smooch spritzers or anything in your Stampin’ Sprizter
10. Outline images or fill in images with glitter
11. Texturize it -yes it already has texture but you can add more with our textured impressions folder
12. Stencil over
WOW….
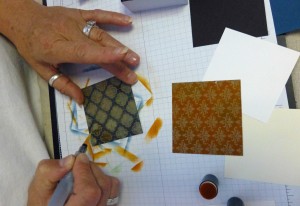
BLEACHING – use a paint brush, blender pen, aquapainter tip to paint bleach onto the naturals composition paper. TIP: if using a blender pen I designate one for bleach with a label.
*For an added look you can go back over bleached area with watercoloring – very soft, or you can mix and match coloring with marker and bleach.
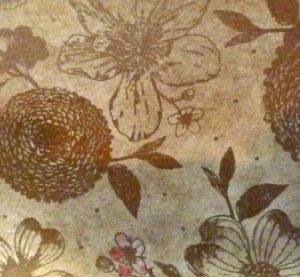
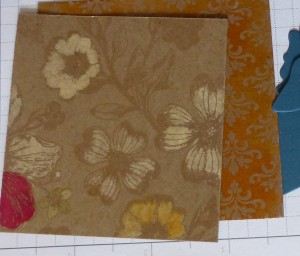
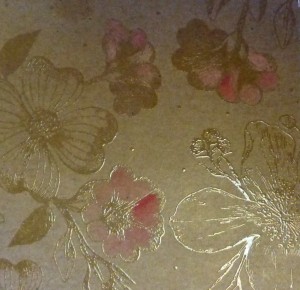
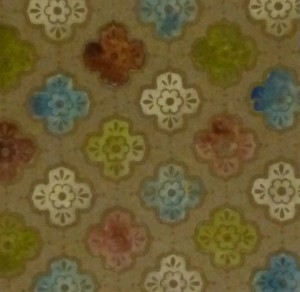
NATURALS – Sponging,, Sanding
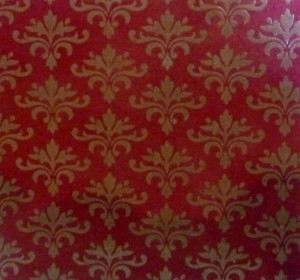
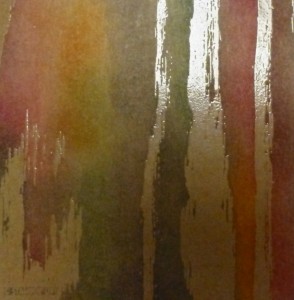
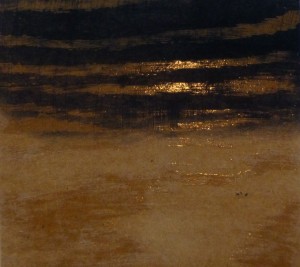
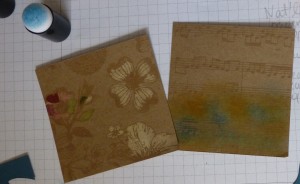
Create stencils with Big Shot Dies and stencil image on Naturals
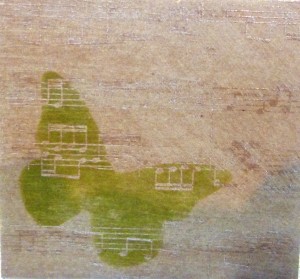
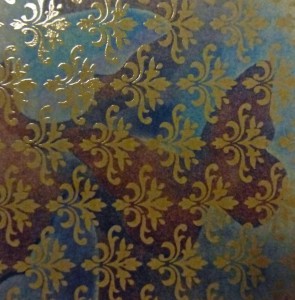
Color with Markers
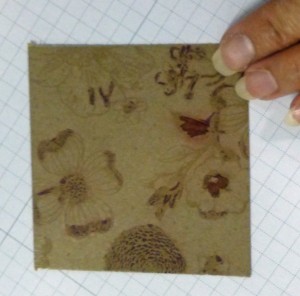
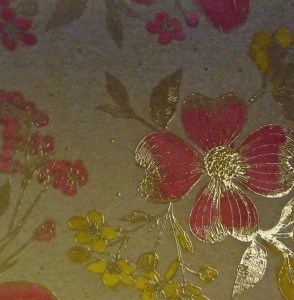
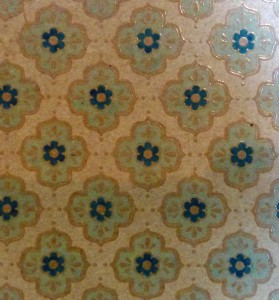
Emboss
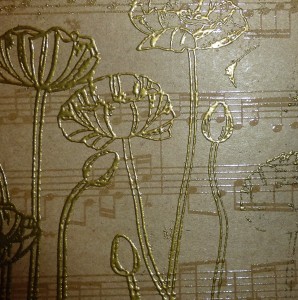
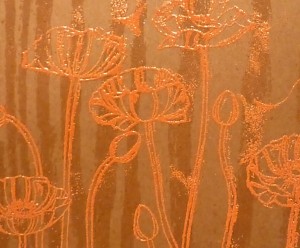
Add even more depth with Stampin’ UP!’s textured impressions folder
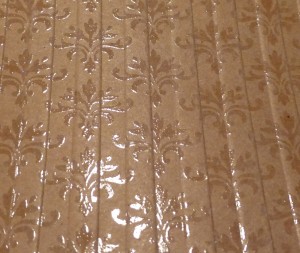
Glitter dressing everything up
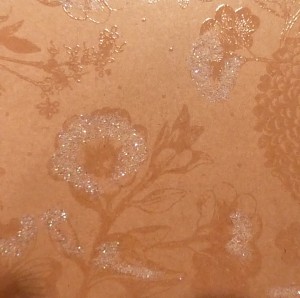
Naturals Compositon
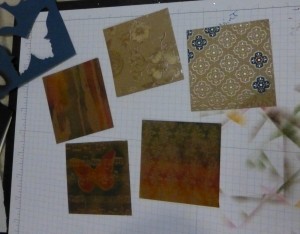
ORDER YOURS TODAY – Click SHOP NOW
CRAFTING JOY
JANET



Love this! Good for a class with purchase of product. TFS.