Today’s projects use the fancy favor box xl big shot die to create quick and easy pouches that can be used to give a gift card, highlight a treat cup, or simply give a small gift of candy.
FANCY FAVOR POUCHES –
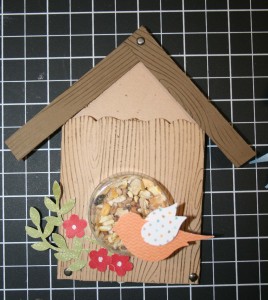
For the Birds – this pouch allows the seeds to be dumped into your hands to toss at the bride & groom or to scatter on your walk. Supplies used – Woodgrain Background Stamp, Tan Confetti Cardstock, Extra Large Two Step Bird Punch, Welcome to the Neighborhood DSP, Sweet Treat Cup, Bird Seed, Vintage Brads
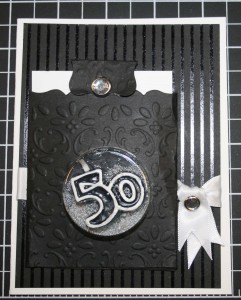
Happy 50 – had this fun 50 candle and several friends looking at 50 🙂 Supplies used Finial Impressions Folder, Basic Black Cardstock, White Textured Cardstock, Groom Specialty Paper, Clear Rhinestone, Microbeads, White Satin, Circle Punch, Sweet Treat Cup
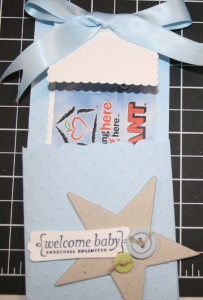
Welcome Baby – used pouch as gift card holder – Supplies – perfect polka dots impression folder, chipboard star, sherbert/playground buttons, linen thread, WELCOME BABY stamp (from the Under $10 collection), night of navy ink, Hugs scallop notes, slit punch, bashblue blue satin ribbon

FANCY FAVOR POUCH ASSEMBLY INSTRUCTIONS for Pouches with CUPS – Sweet Treat Cups, Heart Treat Cups
Step 1- Die Cut Cardstock with Fancy Favor XL Box
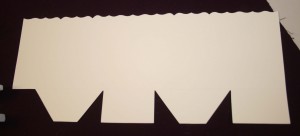
Step 2- cut end off as shown (this is the end with the “tab)

Step 3 (OPTIONAL) – fold flaps in and place in impressions folder to add texture to pouch, brayer, wheel, use background stamp etc to alter solid surface.
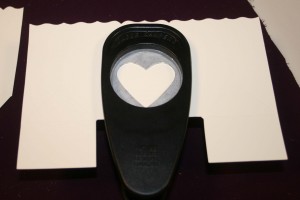
Step 4 – Fold middle bottom flap up and insert punch as far as it will go. Punch out shape of choice (circle or heart for treat cups)
Step 5 (OPTIONAL) – cut a piece of DSP or other color cardstock to fit inside middle panel
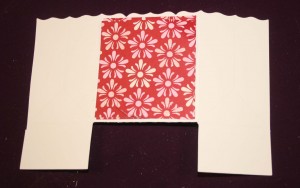
Step 6 – turn fancy favor piece over and center punch over previously punched opening (you do this so that you are not forcing your punch to punch through too many layers at once which sometimes doesn’t work)
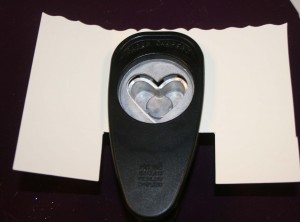
Step 7 – Cut bottom tabs off
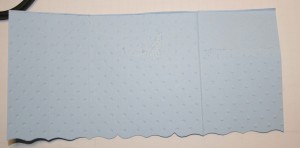
Step 8 – add sticky strip along bottom (opposite fancy edge) fold one side in
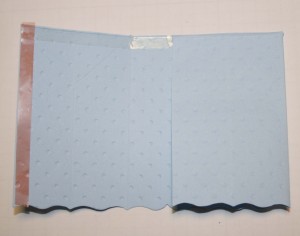
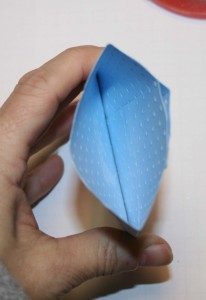
Step 9 – add sticky strip to long edge of side and fold over last
Step 10 Assemble, Add cup, embellish.
Step 11 – Add insert
Step 12 – Give to someone you love
For Pouch without treat cups – follow all steps excluding the punches – unless you want a sneak peak window.
More fancy favor pouches here -http://remarkablycreated.com/2010/01/take-3-tuesday…from-stampinup
Crafting Joy

