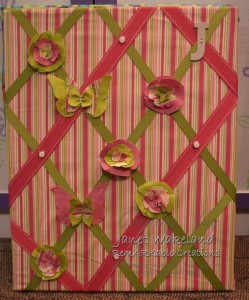
This is one of the projects we are working on at Stamp World this weekend – Memory Boards.
Supplies
1. Art Canvas (I used a 16×20)
2. Fabric to fit the canvas you choose
2a. Optional – fabric batting if you want yours to have a puffy look
3. Accent fabric for embellishing
4. Coordinating Ribbon
5. Brads/buttons/embellishments
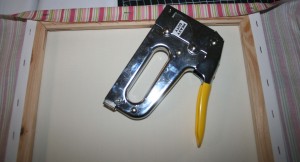
6. Staple Gun
7. Sewing thread/needle
8. Paper Piercing Tool
PRECONSTRUCTION – Iron Fabric –
STEP 1
Artist Canvas
STEP 2
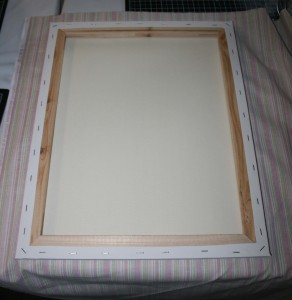
Lay fabric pretty side down, lay canvas on fabric, flat side of canvas to back side of fabric
STEP 3
Pull Fabric up and over edge of canvas – staple with staple gun. I found that if I staple in the middle then left/right my fabric went on straight. Also I did top and bottom then came back to do the sides. For corners fold fabric in like you would a package you were wrapping and staple the corners.
STEP 4
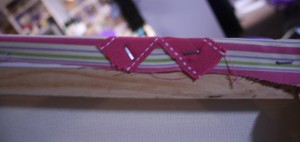
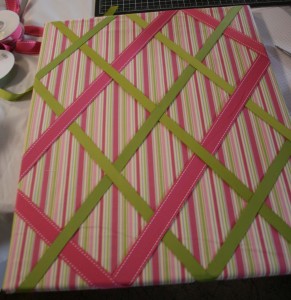
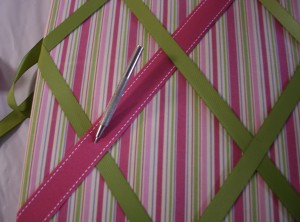
I chose not to cut my ribbon and work with it right from the spool to avoid waste. Work corner to corner first – extending the ribbon beyond to the back and stapling. Stretch ribbon tight – the tighter the better.
I created a big “X” first with my ribbon, then spaced the other ribbon approx 4″ apart. You can move yours closers or further depending on size ribbon, board, etc.
Remember to weave the ribbon over and under.
STEP 5
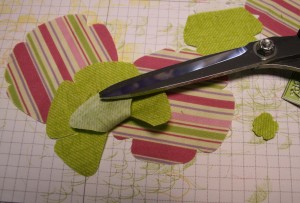
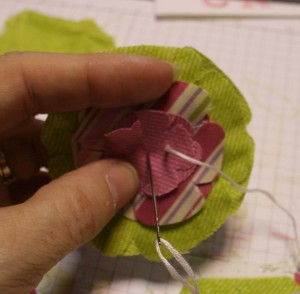
Embellish – I used the Big Shot Die Flower Layers one of my new favorites. Can’t believe I didn’t own it until last week. Oh well it’s home now! To make the flowers more dimensional I snipped them and then sewed them real tight – when you pull the thread tight it puckers them up. For strength I used several strands of embroiderry floss that wouldn’t snap as I pulled them tight.
BRADS – I was able to poke a hole anywhere on the canvas with my paper piercing tool and insert the brads I choose that way.
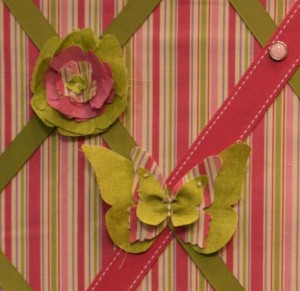
Hang, add photos, notes – Enjoy.
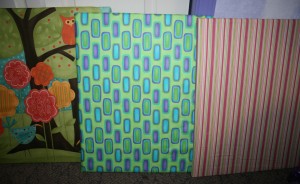
Check back in a few days to see 3 more variations and the ones created this weekend.
Crafting Joy
jan

